 | 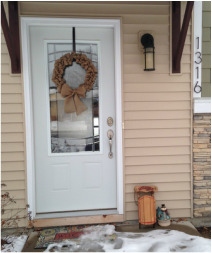 |  |
I finally was able to make a trip to Hobby Lobby to get the supplies to make another burlap wreath. What I love about this project is that it can be used ALL year! No more storing a wreath for each season! I just use safety pins to discreetly attach the decorations to the wreath so they can be added and removed as the seasons change.
| What You Need A Wire Wreath Two Rolls of 15 ft or 5 yd Burlap Scissors *You could also use floral wire, but I have made a few without now and I find they hold up well even without it. | 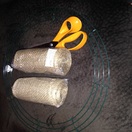 |
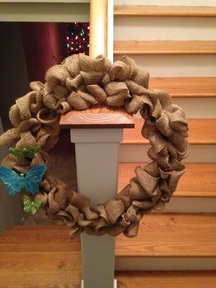
 | How You Make It 1. Lay the wreath on top of the burlap. 2. Push the burlap up through each of the spaces. (Hint--leave a bit of a tail, so it doesn't slip out between the spaces. This is also where you could use floral wire to attach the burlap.) 3.Once you have pushed the burlap through each of the space to create 3 "bubbles", scrunch them together. 4. Turn the wreath over and twist the burlap. This will help hold your bubbles in place. If you are using wire you would also use that the tie the burlap to the wreath here. 5. Flip the wreath back over and repeat steps 2-4 until you have finished the wreath. If you look at your wreath it is kind of divided into areas, I repeated the bubbles three times in section to give my wreath a fuller look. 6. Hang your wreath! On this wreath I just tied on a burlap bow, but there are so many options out there to decorate! |
These are so beautiful! They would make great gifts as well! I would love to see any wreaths that you have made! Have a fantastic Sunday!

 RSS Feed